
AURORA BOREALIS – all you need to know about the Northern Lights
In this post we share our knowledge and some basic information about the most wonderful winter attraction of the north – the Northern Lights. Read on and get the best tips for successful Northern Lights viewing and photography!
What are the Northern Lights?
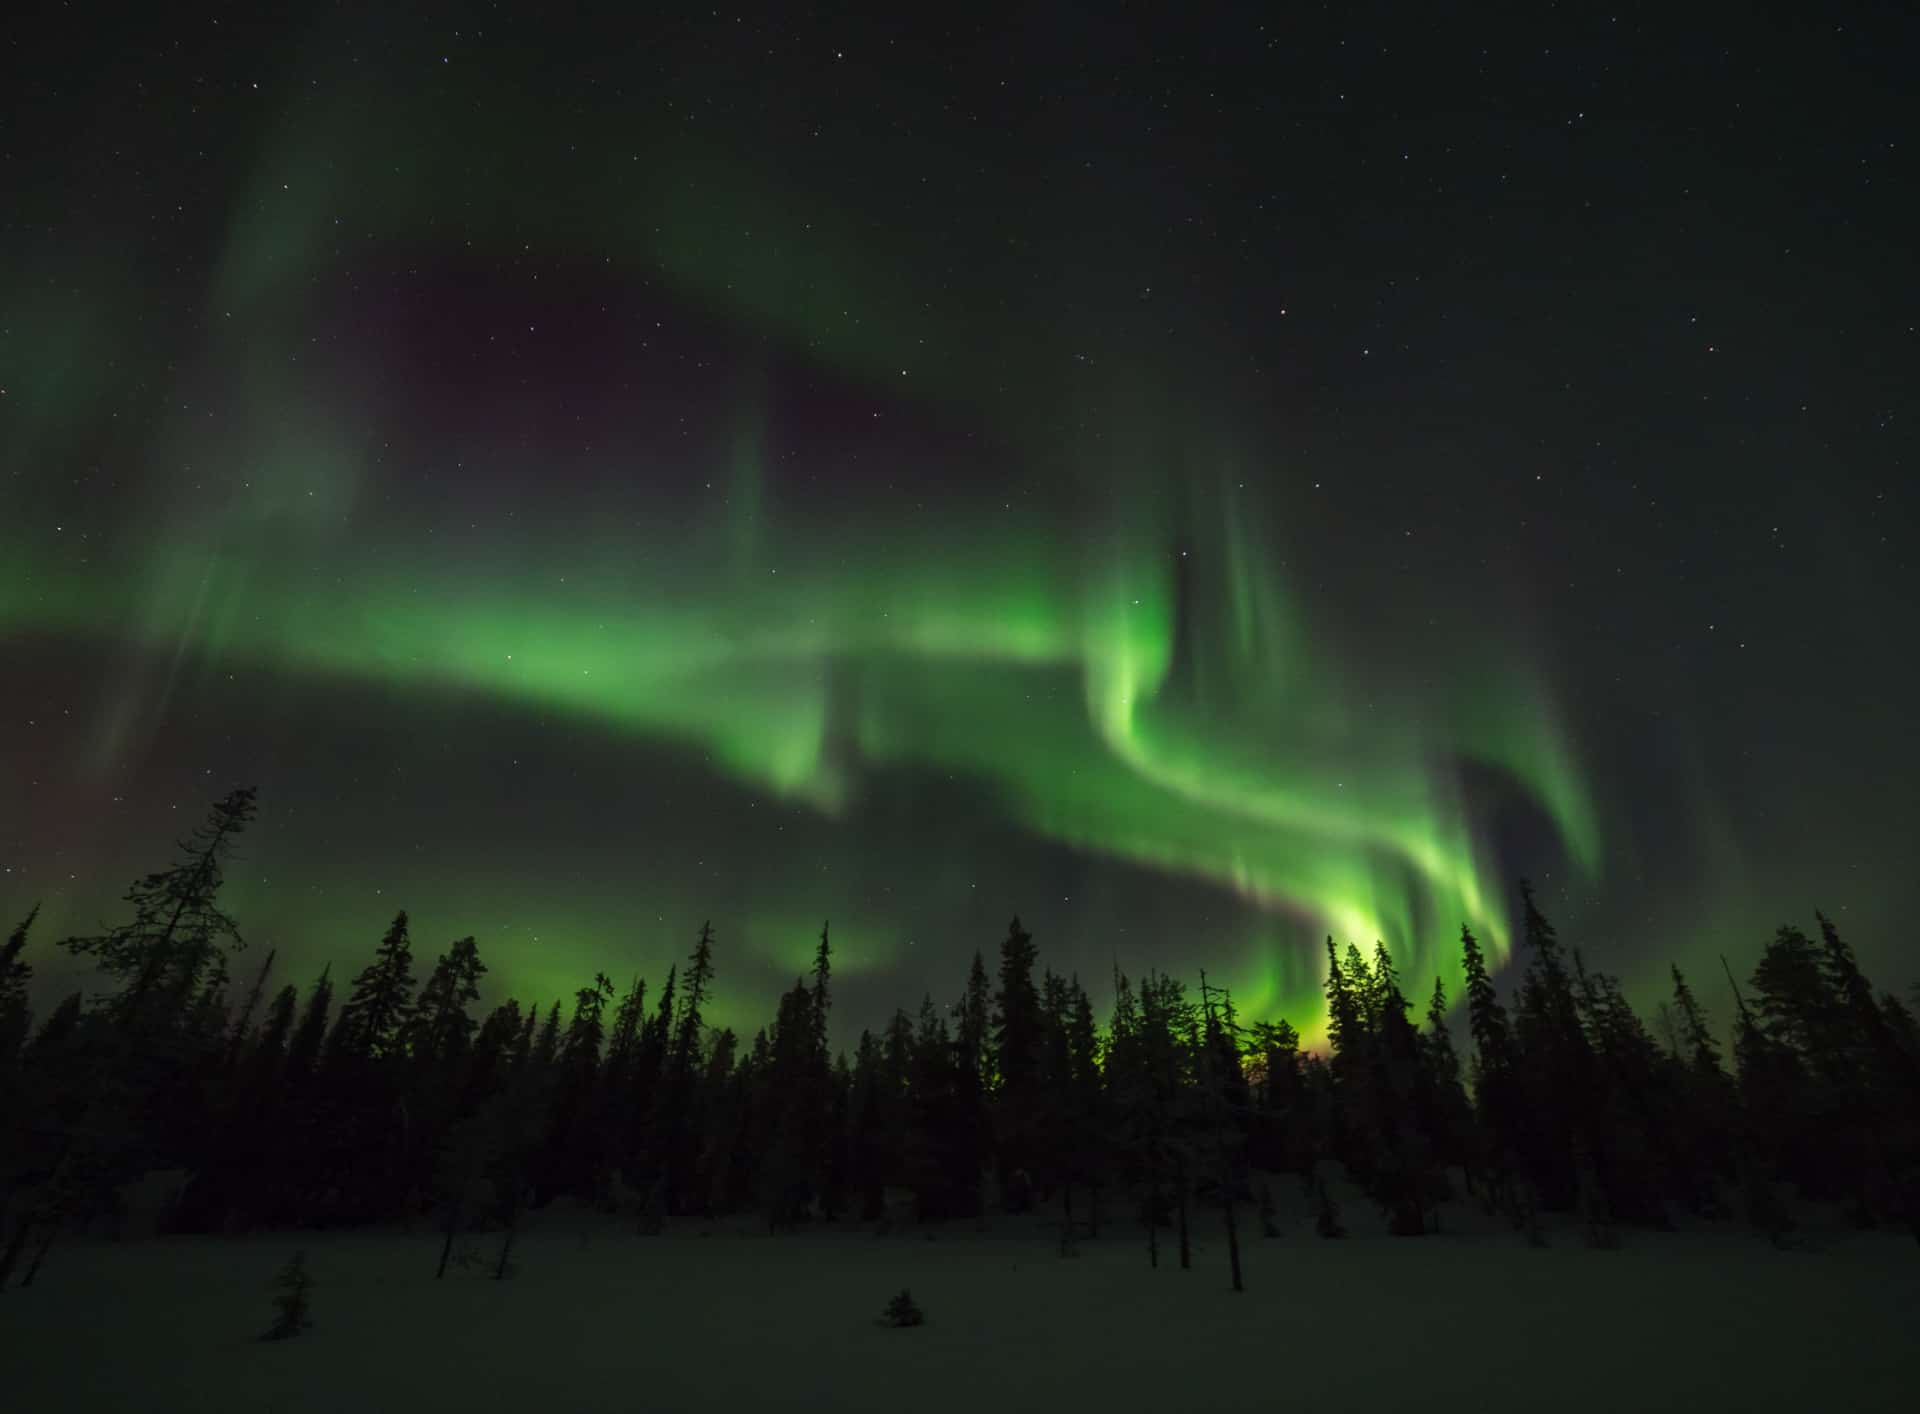
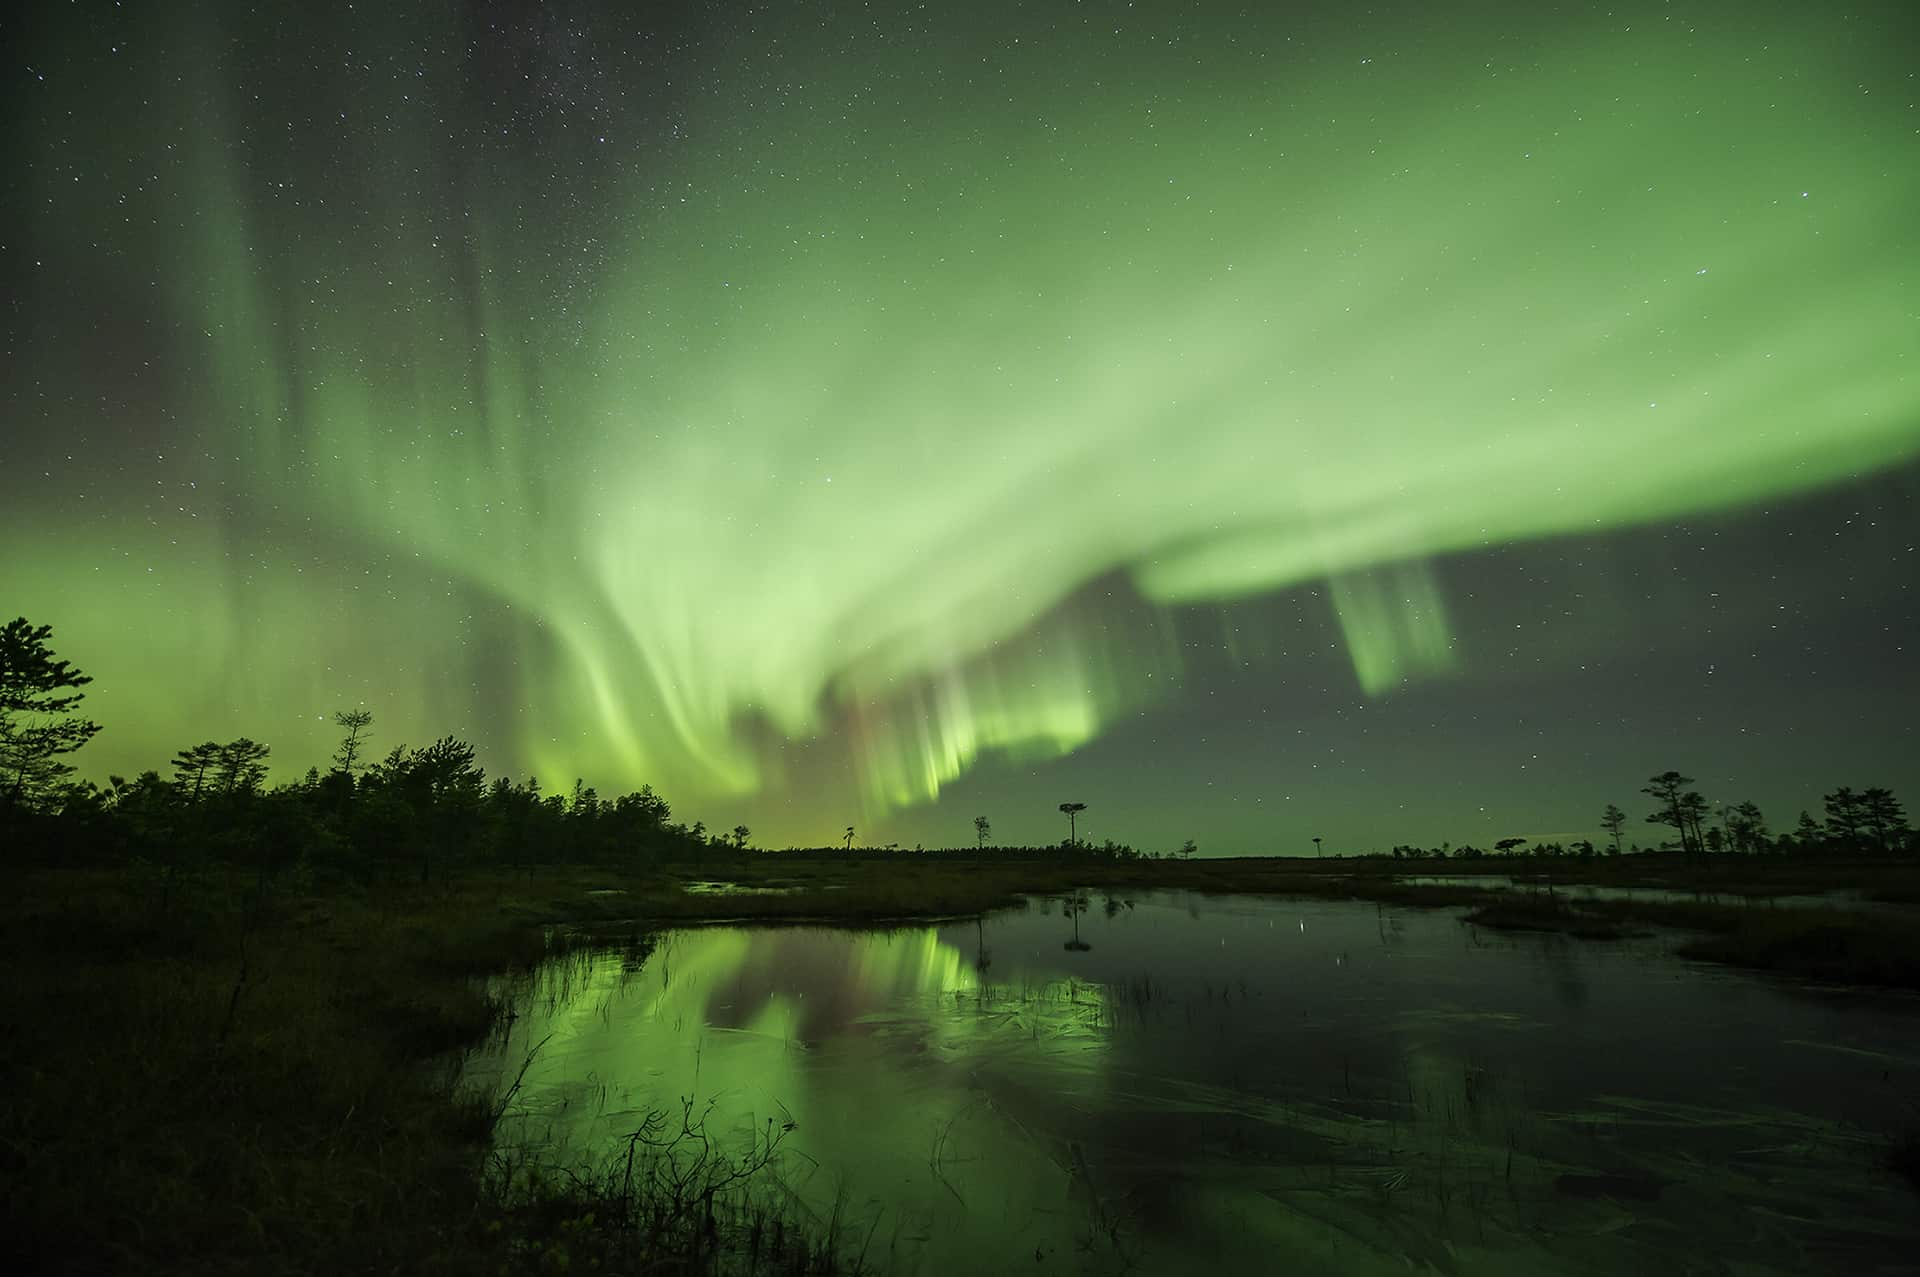
Northern Lights, or Aurora Borealis, is a special phenomenon of the north. Here comes the science part: Northern Lights are caused by electrically charged particles that are blown from the Sun by solar wind. When these particles hit the Earth’s atmosphere, collisions between the particles and gases in the atmosphere from visible Aurora Borealis over the northern magnetic pole. In southern pole, these lights are called the Sourtern Lights or Aurora Australis!
The most common color for the Aurora is green but they can be different colors as well. It actually depends on the gas type that the particles from the Sun collide with: green Aurora comes from collision between particles and oxygen, rarer red Aurora between particles and high-altitude oxygen, and blue or purple-red between particles and nitrogen.
The Sun activity and consequently the Aurora Borealis activity goes in cycles of about 11 years. Solar maximum is the best time for the Northern Lights. Solar maximum can have multiple peaks between years!
What is the best place to see the Northern Lights?
Simply, the Northern Lights are visible in the area of the magnetic northern pole. But the area of the northern pole is irregular and possibilities are not equal around the northern hemisphere. Lucky for us, northern Finland and northern Norway are excellent places for Aurora Borealis!
What is the best time to see the Northern Lights?
Aurora Borealis can be seen and photographed in northern Finland and northern Norway from late August until to lateMarch when the nights are completely dark. During midnight sun in summer, the Aurora are not visible because there is too much light. Many factors add up to the success of an Aurora outing: weather, season, length of stay and location.
Like weather, Aurora Borealis cannot be fully predicted. However, if the activity from Sun (coronal mass ejection CME) is directed to the Earth, there is a possibility for visible Aurora within the next 24 – 72 hours. Also the visibility varies a lot – the strength of the geomagnetic activity is measured with a Kp-index.
Kp-index – what’s that?
Kp-index is a very useful tool for Aurora hunters! It estimates at which latitude the Aurora will be visible. Kp-index scale ranges from 1 to 10. In Finland, if you are traveling north of the Arctic Circle, an estimated Kp-index of 3 or more is likely to give you a good Aurora show! If the Kp-index reaches 5 or more, there is a geomagnetic storm in progress. These storms have their own scale: a Kp 5 geomagnetic activity is also called a G1 geomagnetic storm.
How to prepare for an Aurora outing?
Here are some useful tips for preparing for the search of Northern Lights:
1. Check the Aurora and weather forecasts
Weather naturally determines where the Auroras are visible! Usually the Aurora forecasts give estimates up to three nights so you will have plenty of time for planning your outing. However, Northern Lights can develop quickly so it is useful to use an app that gives you Aurora alerts – this way you’ll never miss a show! One good app is My Aurora Forecast by jRustonApps.
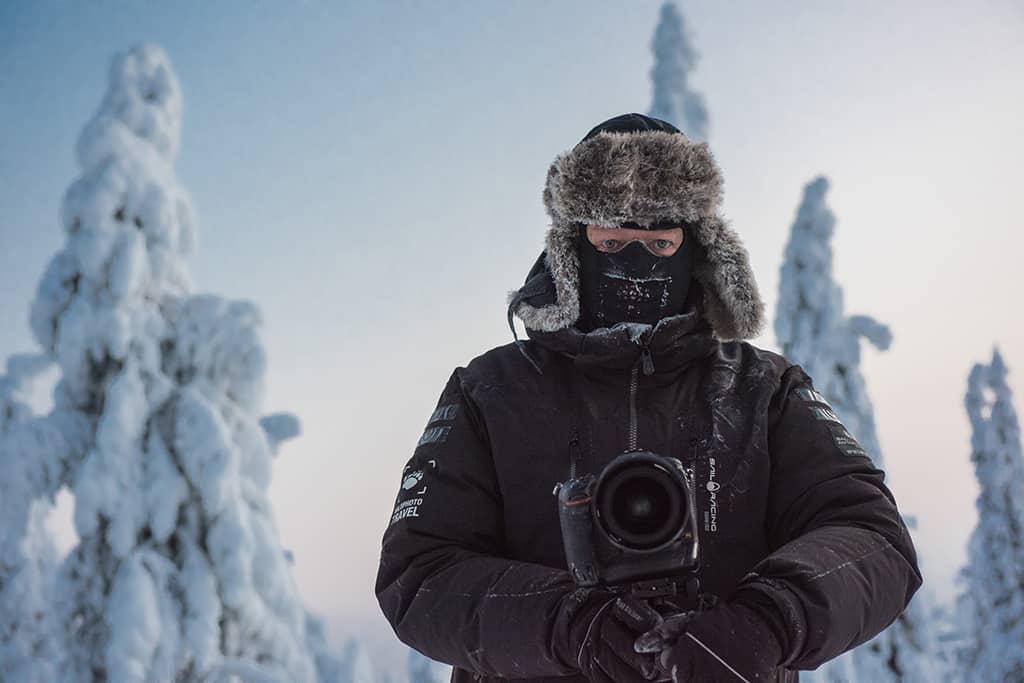
2. Clothing
You might need to spend extended times looking for the Aurora in cold conditions. Make sure to dress warmly in layers: thermal underwear, padded jacket and trousers and good, insulating hat are needed. Most important are proper snow boots to keep your feet warm and a combination of thin gloves to work your camera and mittens on top! Hiking boots are way inadequate in winter conditions.
3. Camera gear
You might want to consider to take 2 camera bodies with you, to have one extra at hand if the main body stops working in the cold. Wide-angle lens of 12-24mm or similar is a goop choice, or you could try a fisheye lens below 35mm focal length. A tripod is a must but be careful with carbon fiber tripods as they break easily in cold conditions! Take a ball head or other camera head with you – just make sure you can tilt the head straight up 90 degrees for possible Aurora corona! Lens wipe might be needed for removing frost or moisture from the lens – but be careful not to breathe towards the lens! Keep spare batteries in an inner pocket to keep them warm.
4. Other gear
A head torch is useful when looking for a good place in the dark. But remember to let your eyes to get used to darkness while on site. This way you detect even the faintest Auroras and are ready for activity. Take outdoor snacks and hot drinks with you to make the outing comfortable. Snow shoes might be a good idea if you need to get around in deep snow for wanted composition!
Tips for Aurora Borealis photography
Aurora Borealis are almost alive and change all the time. This means that there are no ”right” settings for Aurora Borealis photography. Instead, you should adjust your settings and find the right ones for each situations as they change. Also, knowing your camera is important so you can adjust camera settings without having to use your head torch. Check your settings every now and then while photographing the Auroras! Here are some advice about suitable camera settings:
Camera settings
Always use RAW mode to preserve all the details in your Aurora images. White balance should be set at ”auto”. Your focus should be on a distant, bright star. A good trick is to use the live view -option on your camera display. Zoom in by using the live view and manually focus on the star. Check your focus every now and then because you can easily loose the correct focus when handling your camera in the dark – and focusing naturally changes if you adjust your zoom!
General rule is to use as low ISO as you can. Many things will affect the needed ISO value: brightness of the Aurora, Moon phase and if it is illuminating the landscape, snow cover that reflects a significant amount of light to the landscape.. this all affects the ISO you should be using.
Adjust your ISO according to Aurora activity: when the Aurora are weak, you’ll have to use long exposure (25 – 30 seconds) and in this case high ISO might not be needed.
Shutter speed in Northern Lights photography is usually between 5 and 30 seconds, depending on the speed at which Aurora are pulsating in the sky – and this can change significantly! A peaceful Aurora bow in the northern horizon can be photographed with 20 – 30 seconds exposure, while with more vivid Aurora, you will have to use faster shutter speed of 8 – 15 seconds and take some frames with higher ISO as well (from 1250 to 3200). In the case of fast-moving Aurora Borealis corona, you might have to choose a shutter speed of only 5 seconds to capture the right atmosphere. This means that you’ll have to use ISO setting from 2000 to 3200. Note that when using higher ISO values, always check the histogram after the shot – if the greens in the picture are overexposed, lower the ISO or use faster shutter speed, whichever fits better to the Aurora.
Composition
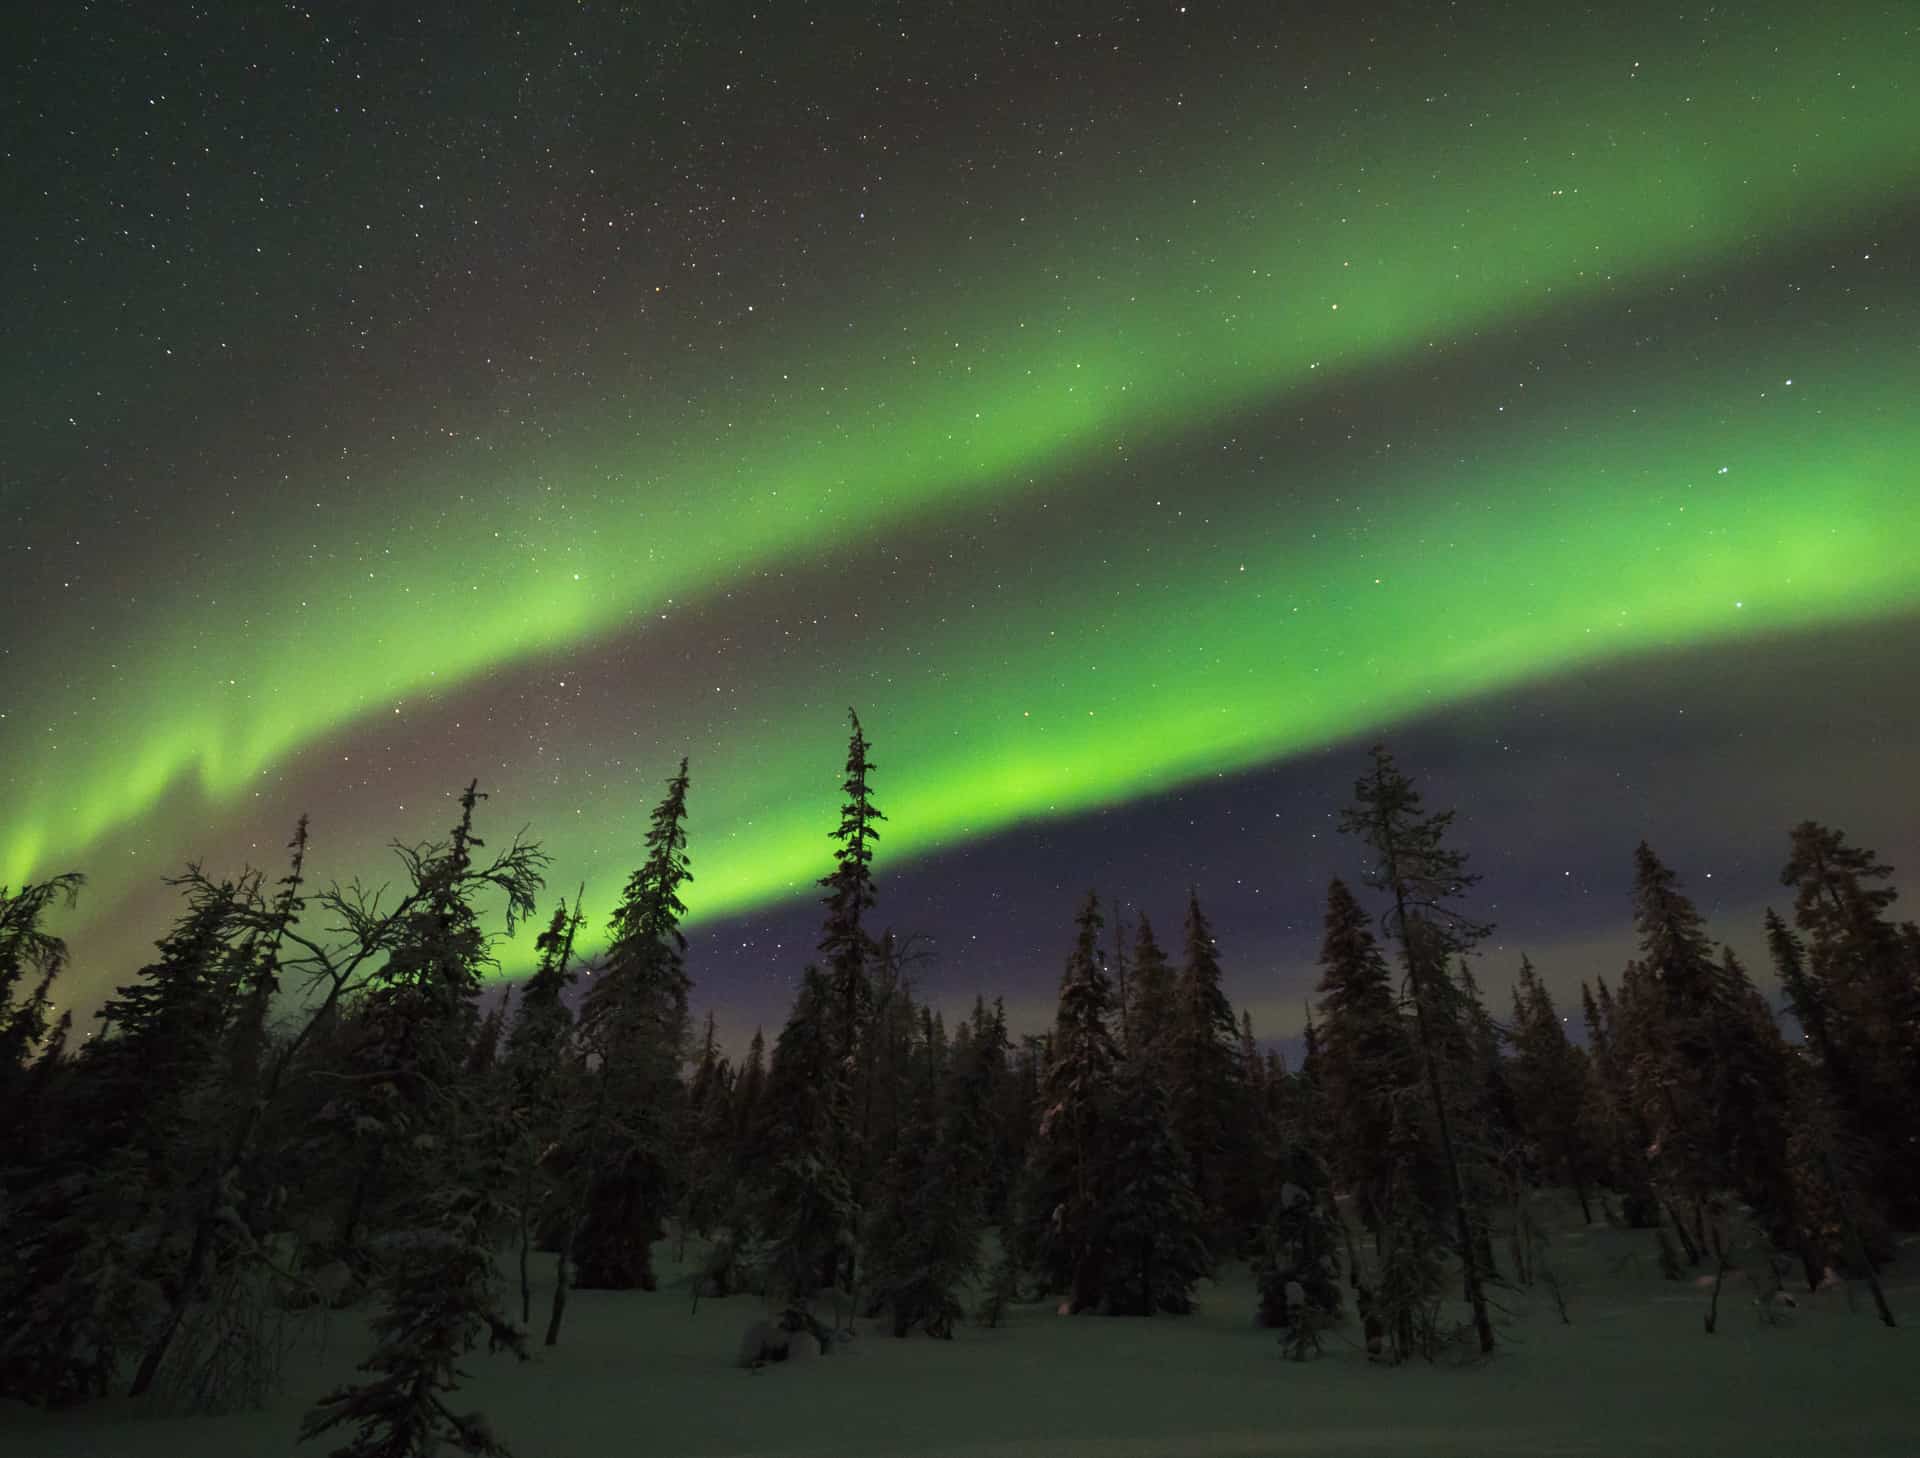
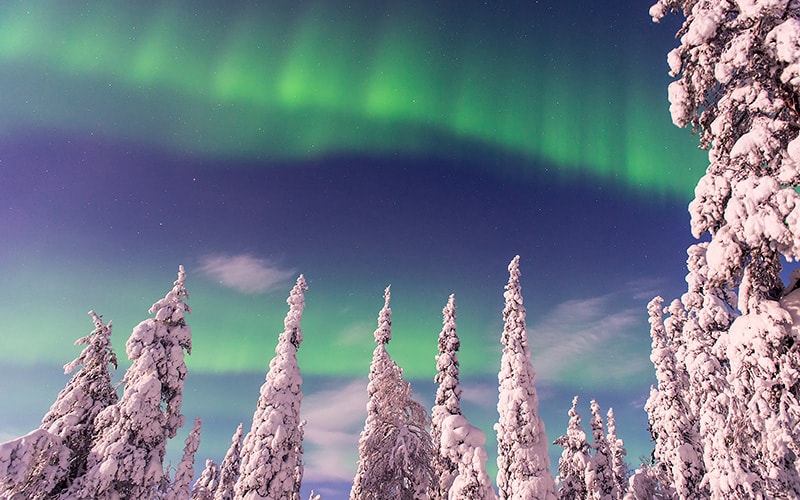
Wintery landscapes combined with Northern Lights are wonderful – and here, the location determines a lot. Scout out the suitable photo locations beforehand. Northern Lights display takes usually place on the northern sky so choose a place with no bright lights or electrical wires on the north side. Also, pay attention to the foreground – some details close to the camera can make the photos look very interesting! Snow-crowned trees in northern Finland make for beautiful details in Aurora images.
Moonlight is tricky one in Aurora images – it helps you to bring out the details in snowy landscapes but at the same time it might be too illuminating. During full moon the sky is not well visible but strong Auroras can photographed then as well.
In order to capture the Aurora Borealis formations perfectly, you’ll need to try different settings and take multiple shots. If your images look ”messy” with no clear formation of Aurora, try higher ISO and slower shutter speed.
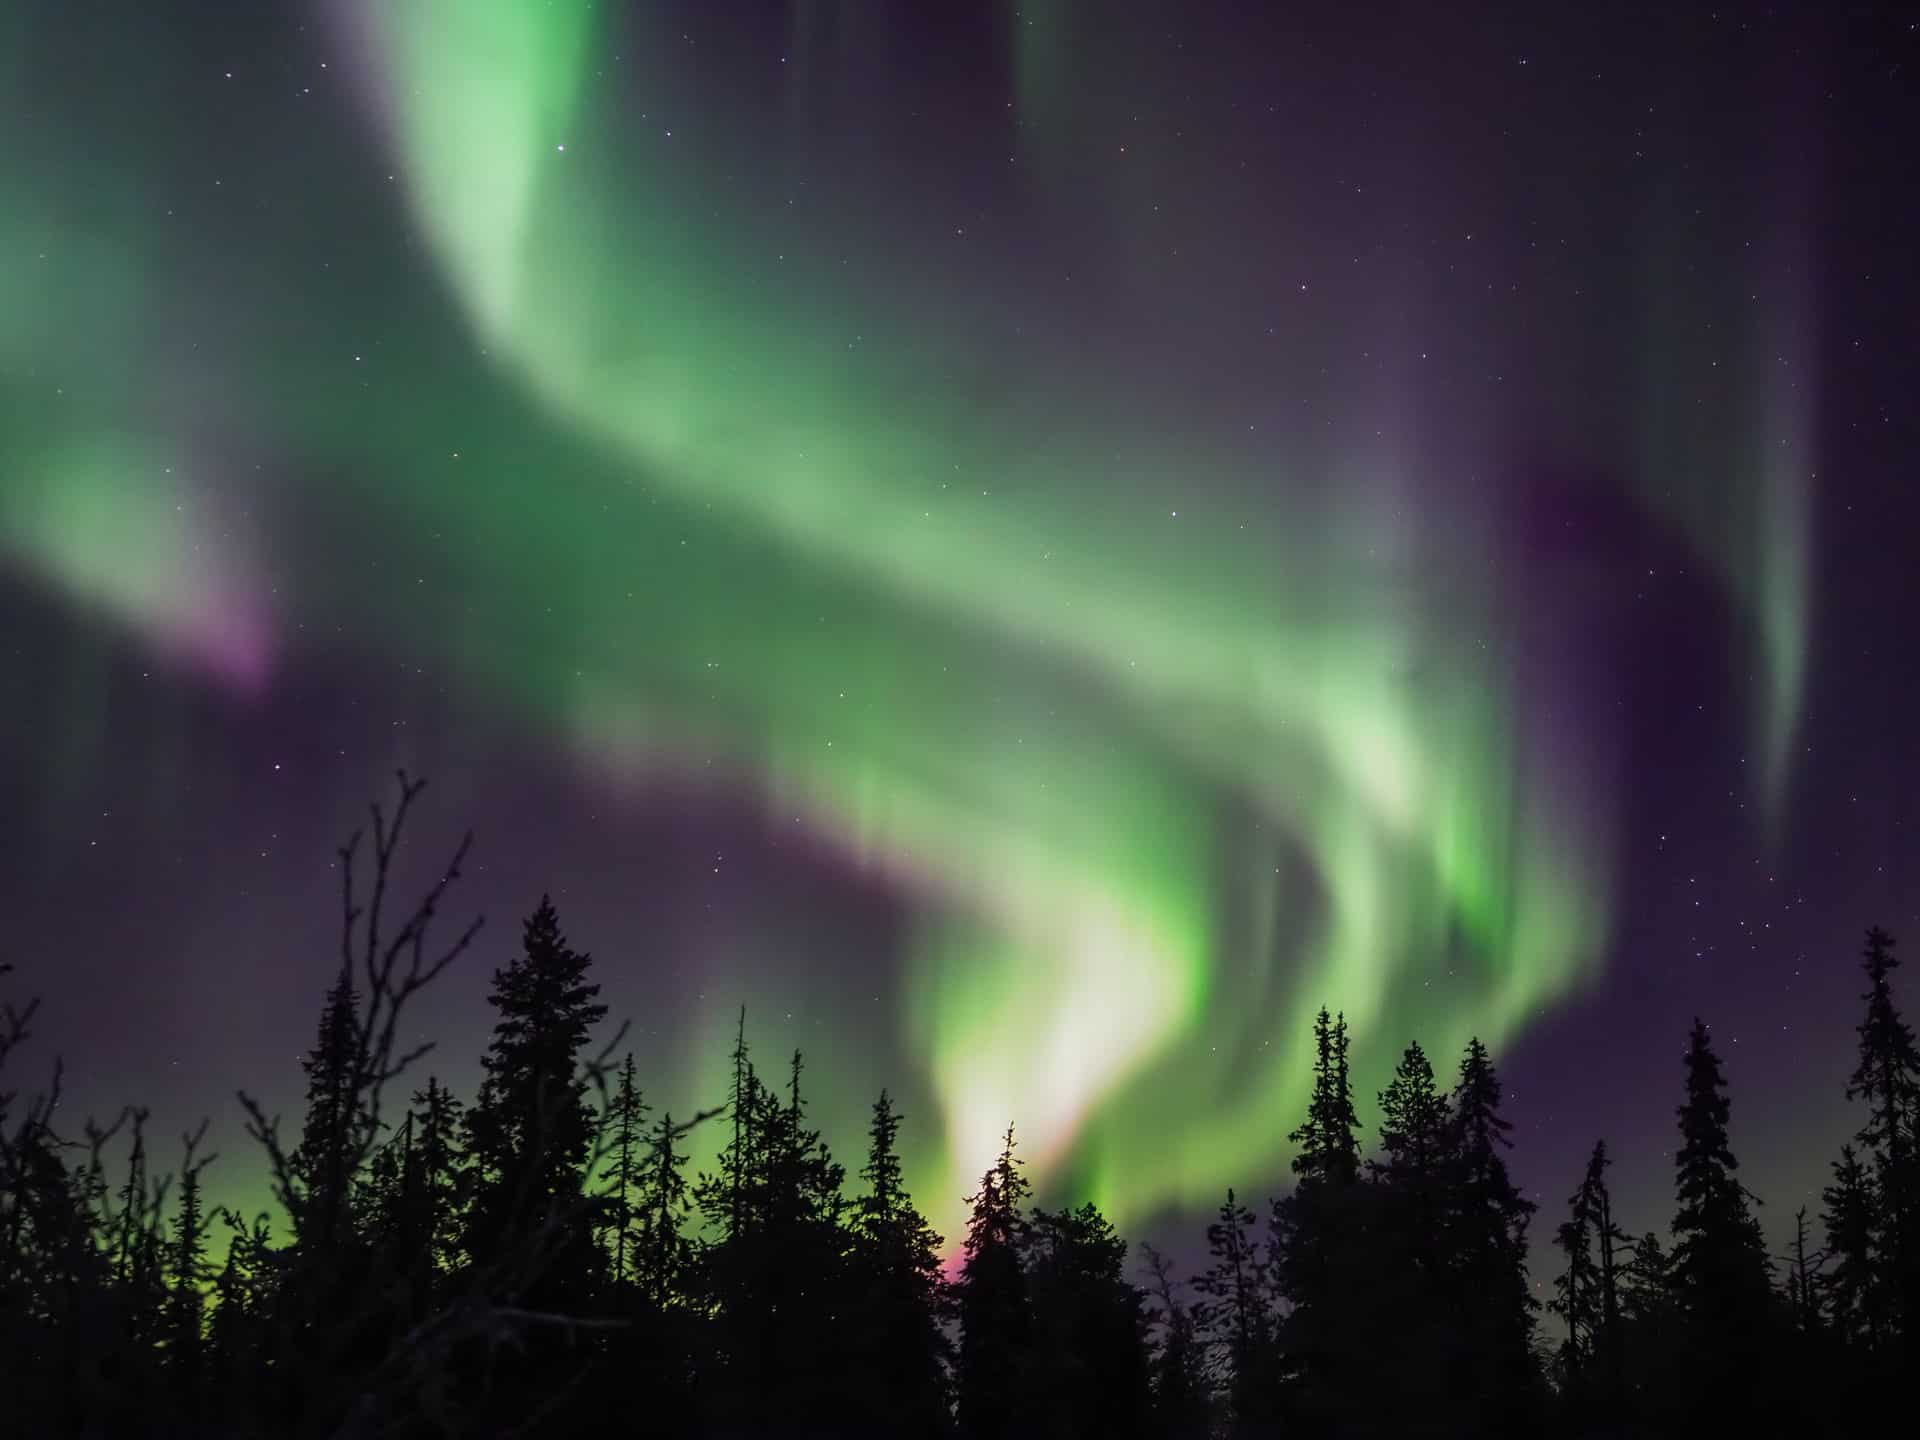
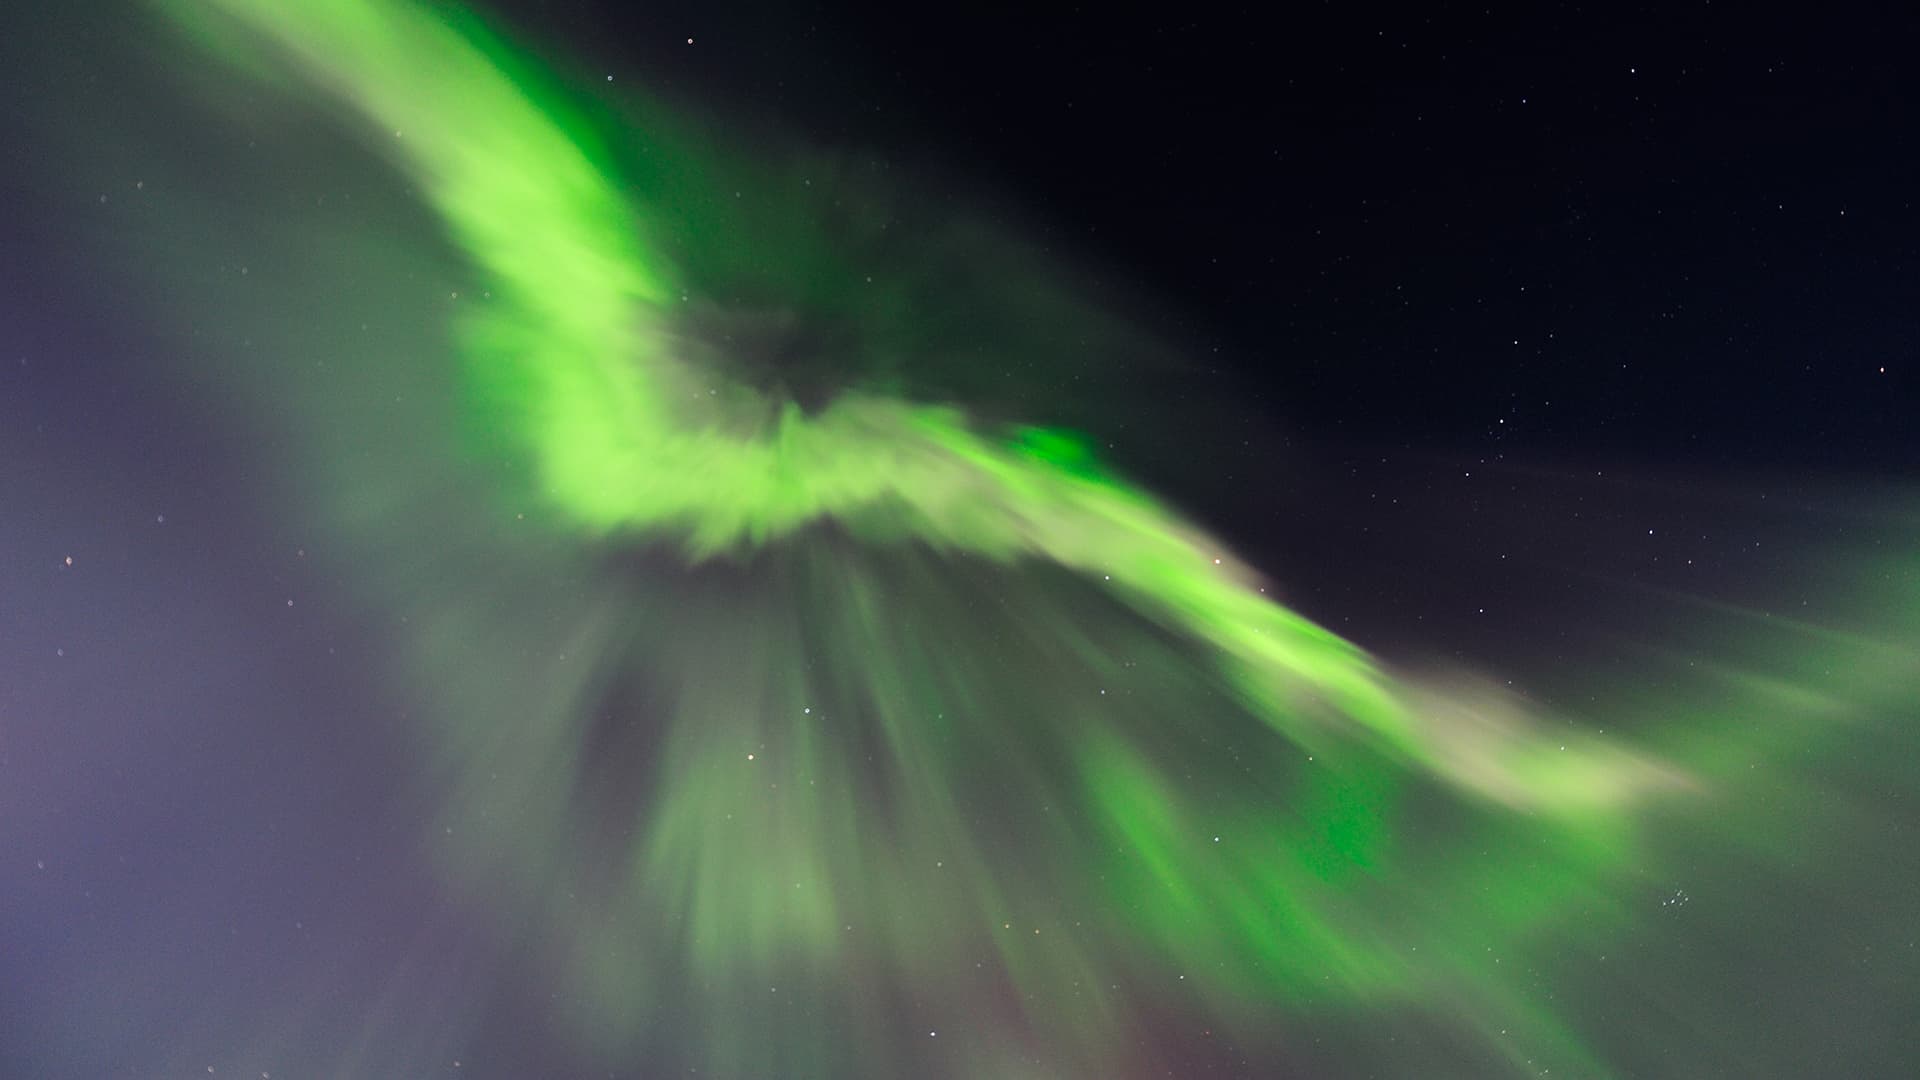
If the Northern Lights are extremely active, pay attention to the skies above you – you might be in treat for Aurora corona when the lights will be dancing above your head! It is simply breathtaking. The corona is often fast-pulsating and flower-shaped. Try different shutter speeds from 2 to 10 seconds. Sometimes you’ll need to raise the ISO to capture the fast movement of the corona correctly.
On our tours, we always check for Aurora forecasts and go out to photograph them if the conditions meet. We have many beautiful Northern Lights photography spots all over northern Finland! Check for more info from our website and from our Flickr gallery for the Northern Lights.